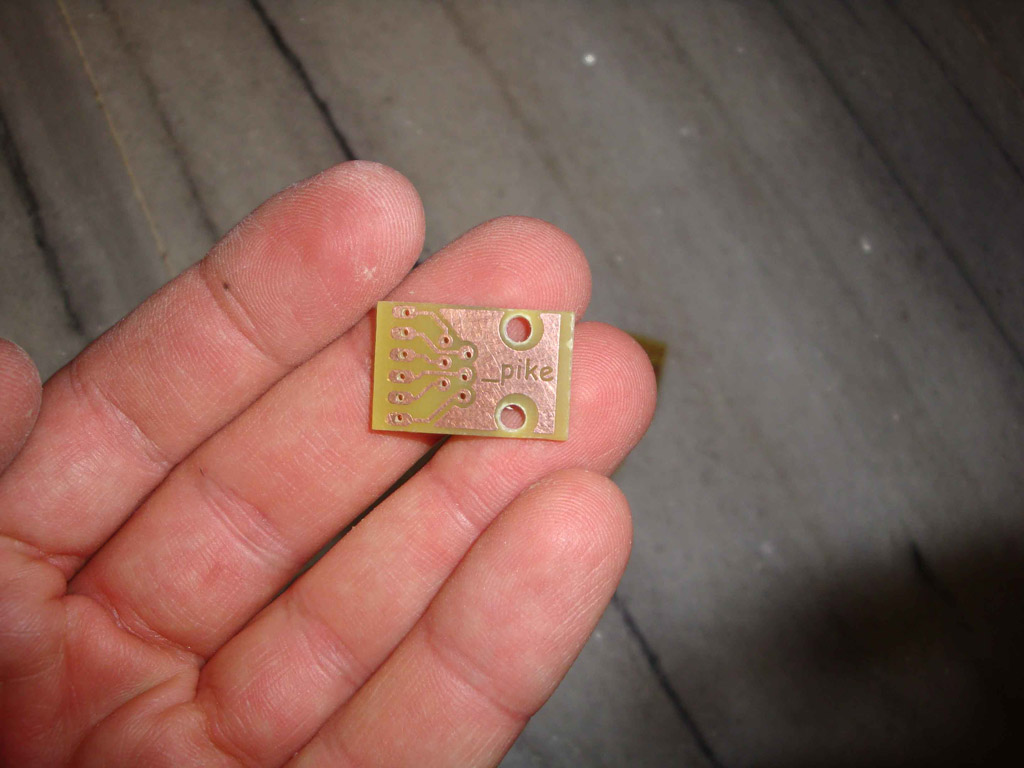
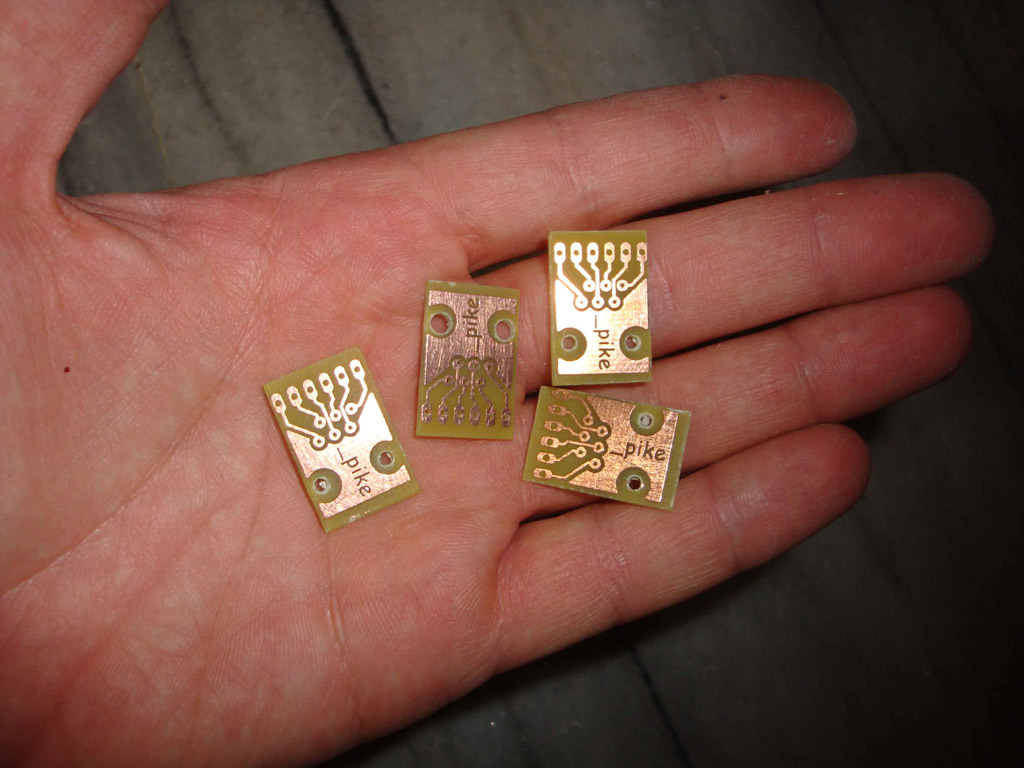
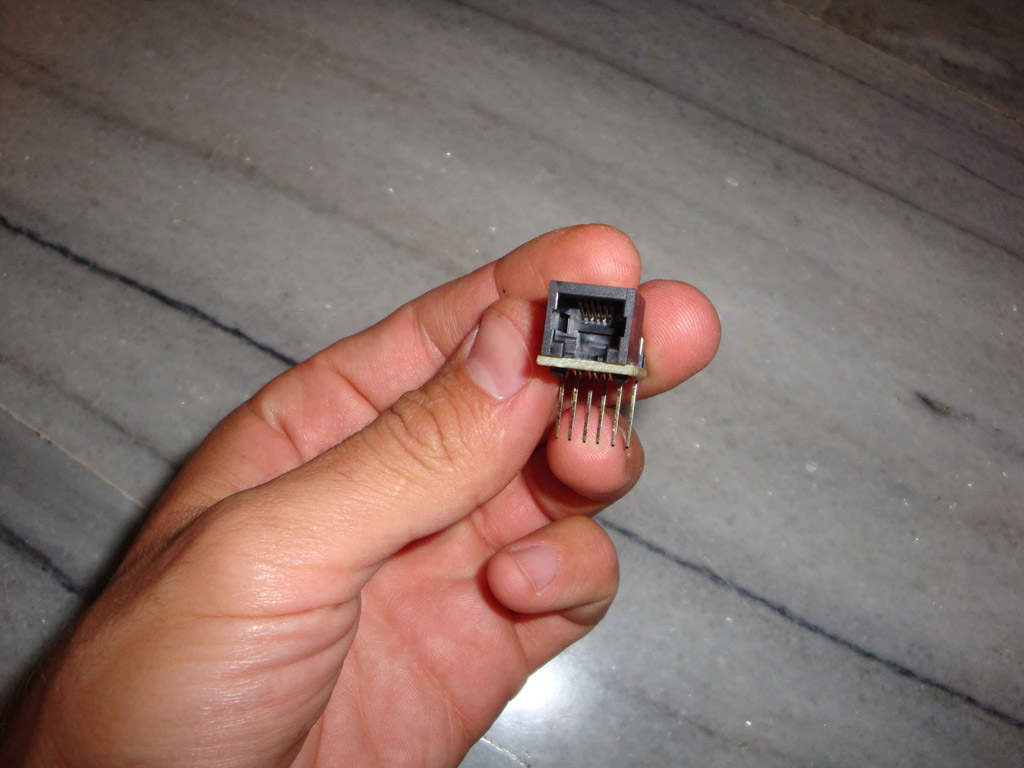
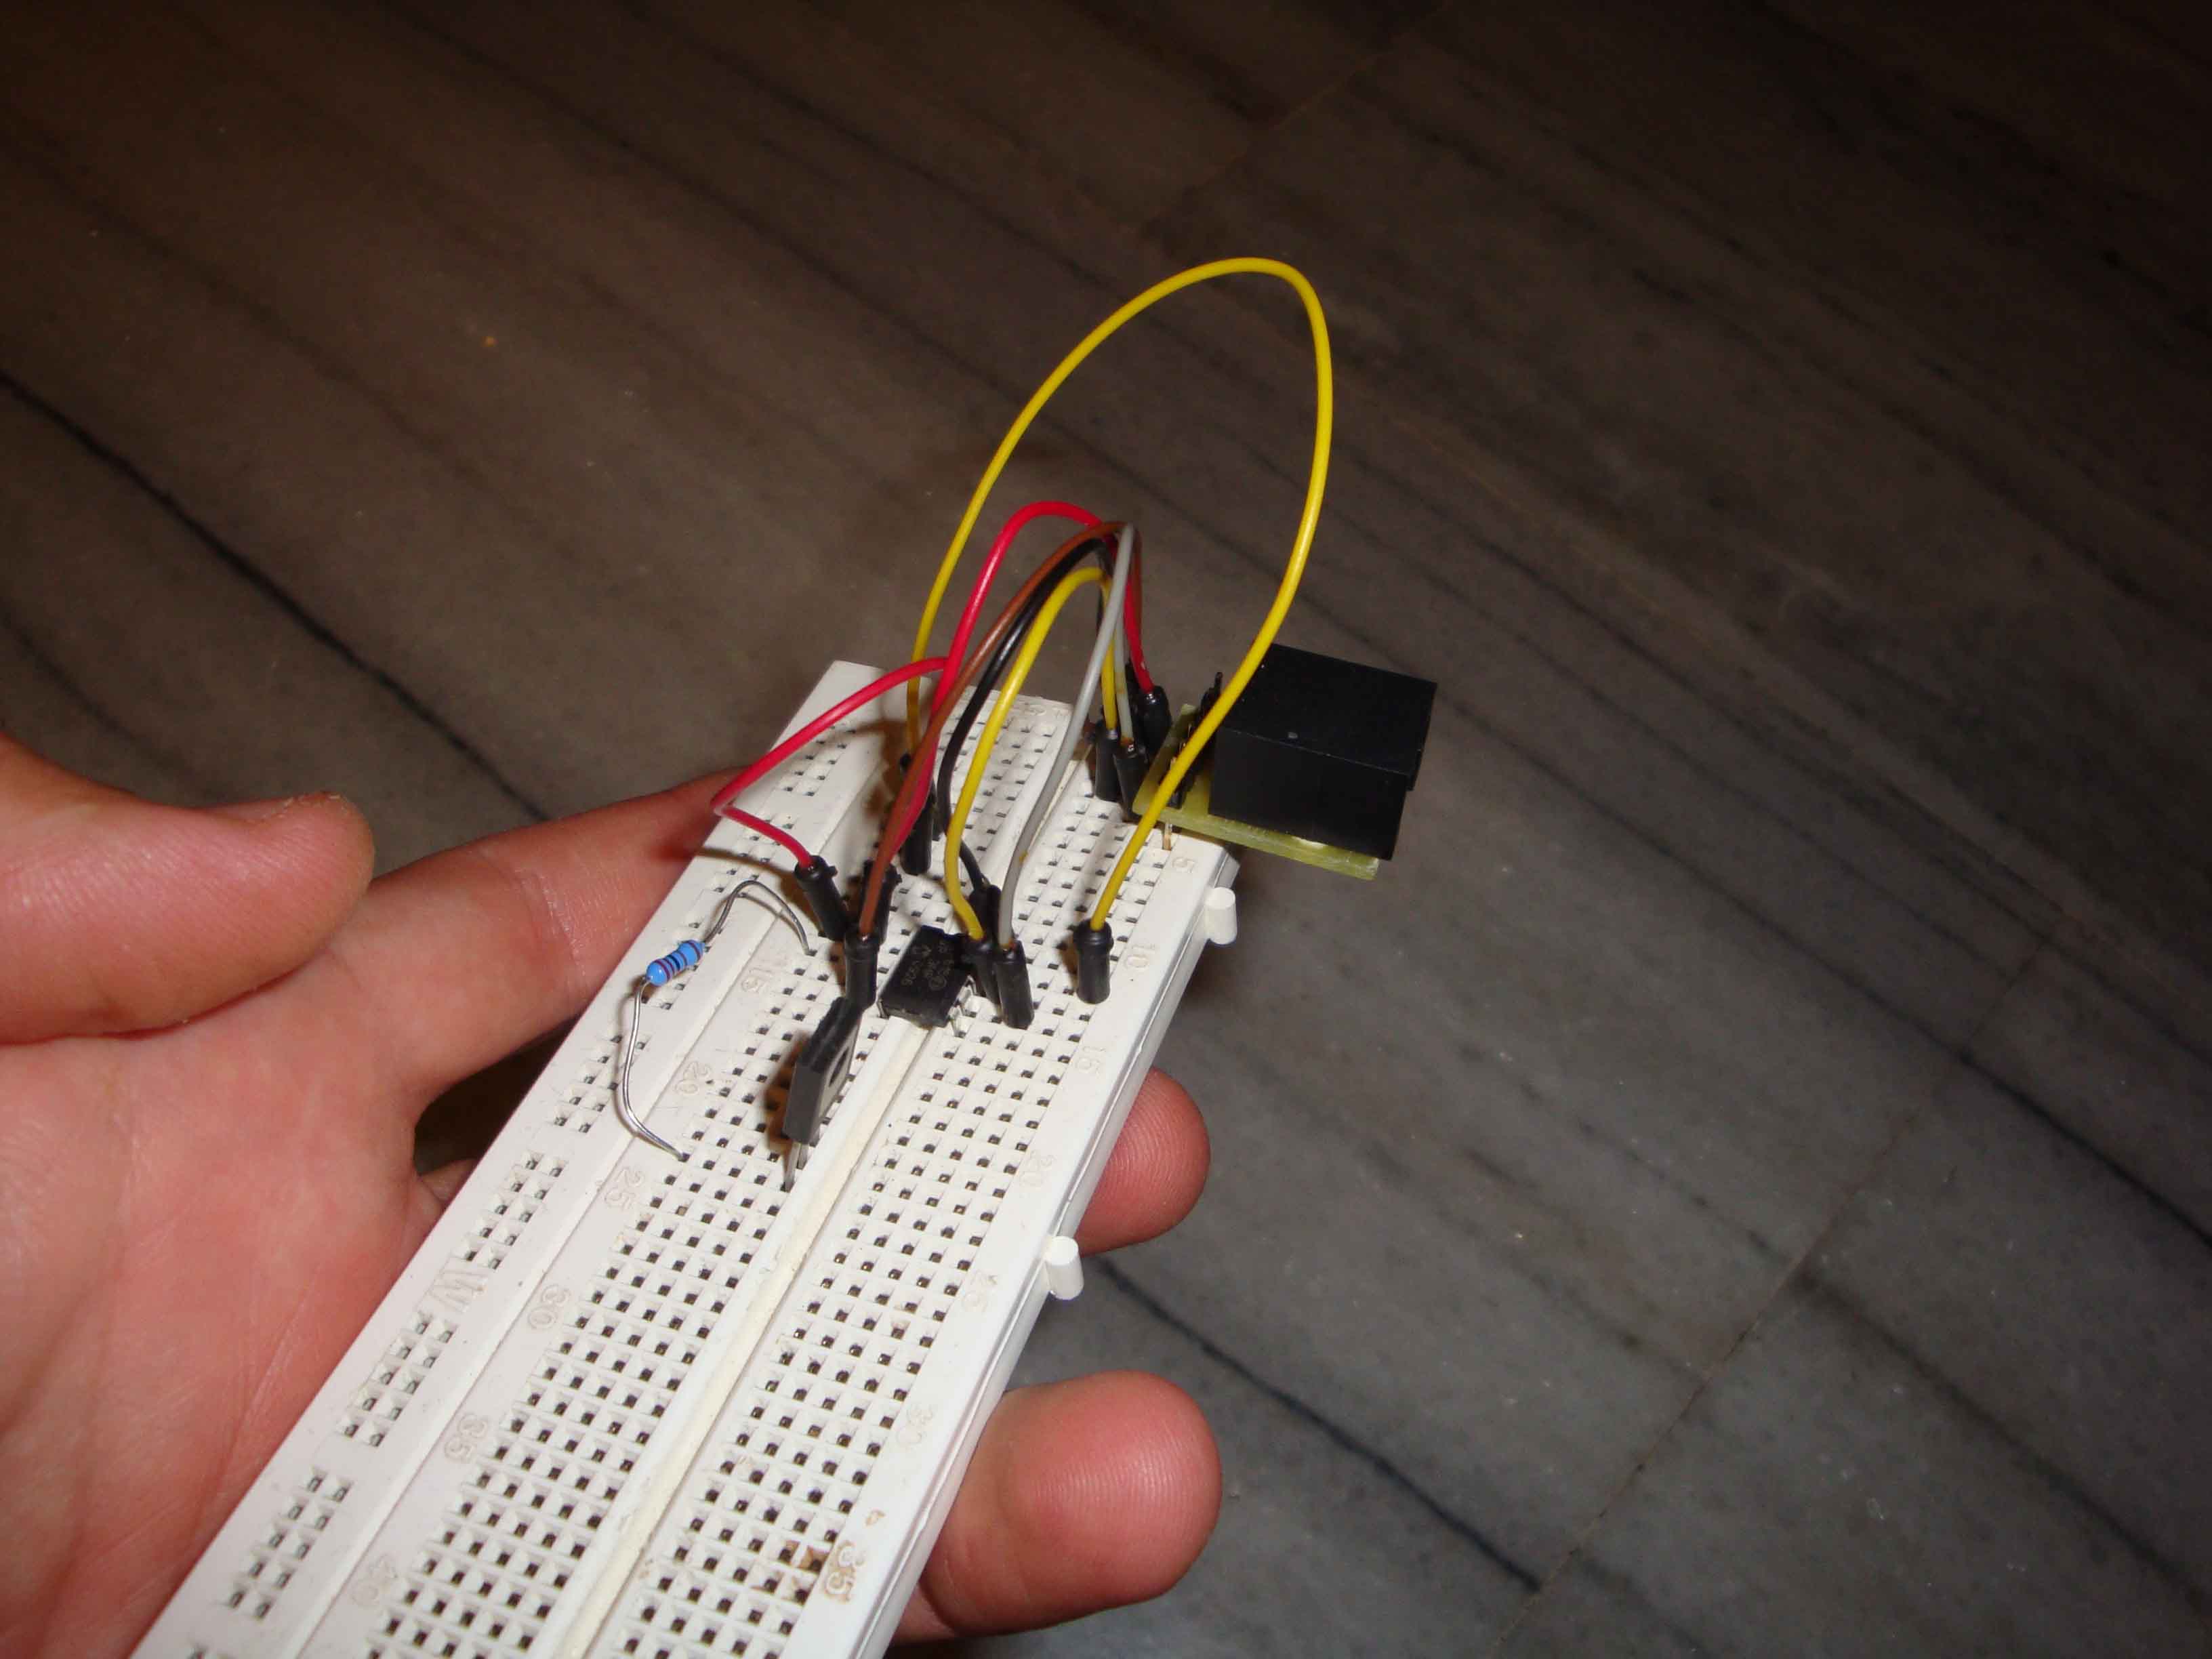
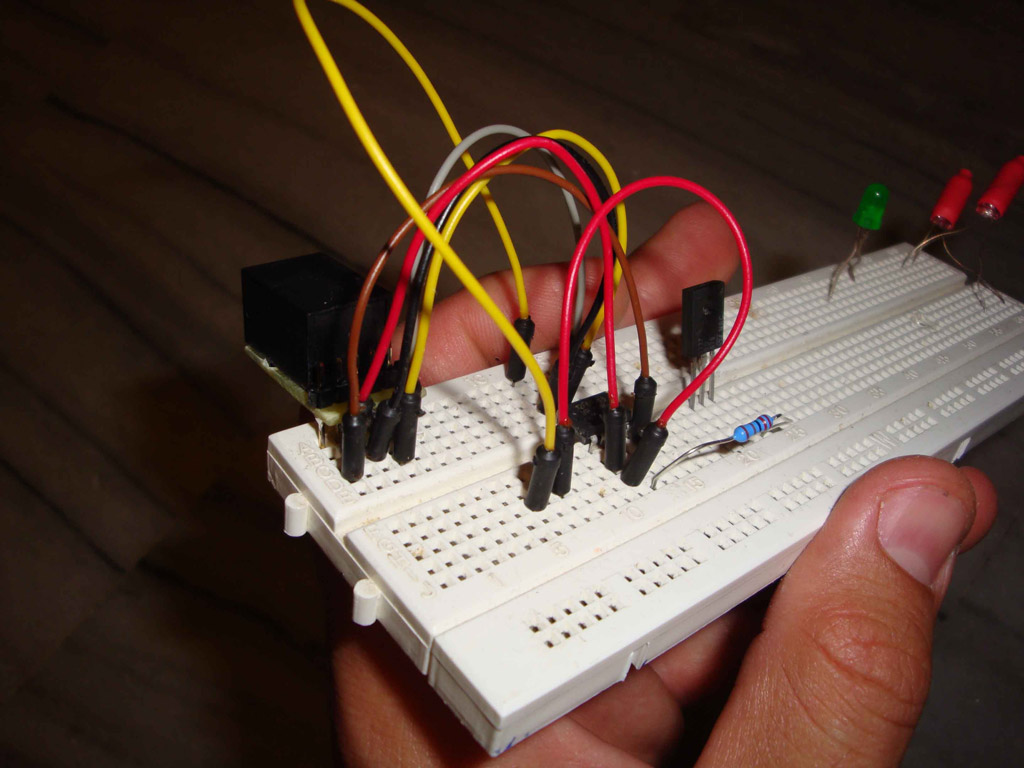
Fast ISCP Connection board "F-ISCPcon"
Introduction
In this page i will present you a really handy circuit where you can use it to your projects ,when you want to accomplish FAST
connection between your programmer and
your breadboard or your pcb.
When i bought my PICKIT 3 (clone) i received with the programmer two connection cables.
1)The first one has female pin headers to both sides, and the
2)Second one has female pin header to the one side and RJ-25 connector to the other..
 |
 |
| The first one with the pin headers to both sides. | The second one with the RJ-25. |
*Note: " RJ " comes from the words "Registered Jack" which is a standardized physical network interface for connecting telecommunications or data equipment.There are also another RJ types named as RJ11, RJ14, RJ21, RJ48, etc.These are the most common types and to those i am familiar to...
So the second cable was obviously my savior!!!!!
RJ connectors can be connected very very FAST!!!!!!You almost don't have to look....(kidding)
You just push and when you hear the confirmation "click" sound ,the connector is connected.
Another important thing is that you don't have to worry about polarity , it is impossible to connect it wrong
since its shape.
Fast ISCP connection board photos
Some ICSP info
Now ICSP initials stands for In Circuit Serial Programming and it s used for programming Mcu's on the pcb of each circuitry ,instead of taking them apart and programming them "On the fly"......
PICKIT's output consists of 6 wires:

1)Vpp
2)Vdd
3)Vcc
4)Dat
5)Clk
Vpp - Programming mode voltage. This must be connected to the MCLR pin, or the Vpp pin of the optional ICSP port available on some
large-pincount PICs. To put the PIC into programming mode, this line must be in a specified range that varies from PIC to PIC.
For 5V PICs, this is always some amount above Vdd, and can be as high as 13.5V. The 3.3V only PICs like the 18FJ, 24H, and 33F series use
a special signature to enter programming mode and Vpp is a digital signal that is either at ground or Vdd. There is no one Vpp voltage
that is within the valid Vpp range of all PICs. In fact, the minimum required Vpp level for some PICs can damage other PICs.
Vdd - This is the positive power input to the PIC. Some programmers require this to be provided by the circuit (circuit must be at
least partially powered up), some programmers expect to drive this line themselves and require the circuit to be off, while others can be
configured either way (like the Microchip ICD2). The Embed Inc programmers expect to drive the Vdd line themselves and require the target
circuit to be off during programming.
Vss - Negative power input to the PIC and the zero volts reference for the remaining signals. Voltages of the other signals are
implicitly with respect to Vss.
ICSPCLK - Clock line of the serial data interface. This line swings from GND to Vdd and is always driven by the programmer. Data
is transferred on the falling edge.
ICSPDAT - Serial data line. The serial interface is bi-directional, so this line can be driven by either the programmer or the PIC
depending on the current operation. In either case this line swings from GND to Vdd. A bit is transferred on the falling edge of PGC.
HAPPY PROGRAMMING......!!!!!!!!!

